How to fix: Sitemap.xml not indicated in robots.txt
Adding your sitemap to your robots.txt file helps search engines find and crawl your site efficiently.
Here’s a simple, step-by-step guide to resolve this issue and give your site’s SEO a nice boost.
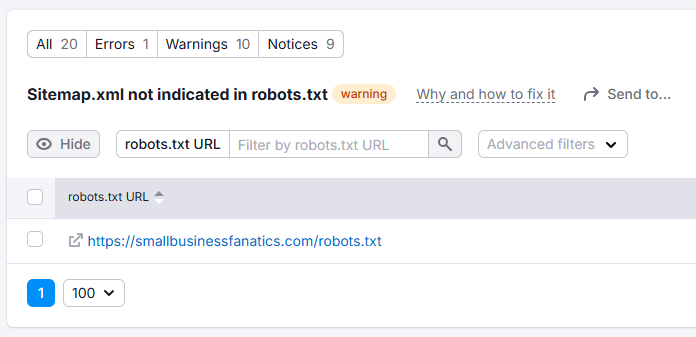
screenshot of Semrush site audit issue sitemap.xml not indicated in robots file
1. Understand the Problem
When Semrush flags the “Sitemap.xml not indicated in robots.txt” issue, it’s telling you that search engines may not be able to locate your sitemap.
Without this indication, search engines might take longer to discover new or updated pages on your site, which can hurt your SEO.
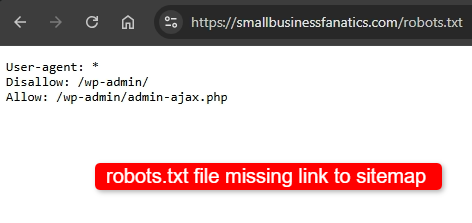
screenshot of robots.txt file missing link to sitemap
2. Locate Your Sitemap URL
Most often, your sitemap will be at https://yourdomain.com/sitemap.xml but for WordPress sites, it will be at https://yourdomain.com/sitemaps_index.xml instead.
To make sure, check with your SEO plugin (like Yoast or Rank Math) or manually look for it by navigating to your site’s root domain with /sitemap.xml at the end.
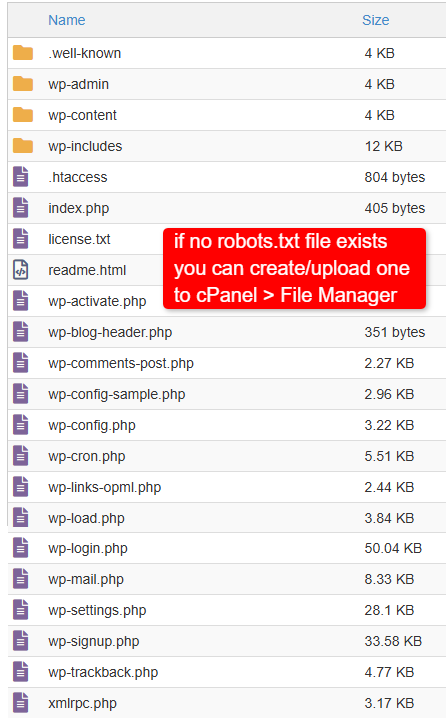
screenshot of file manager without robots.txt file
3. Access Your robots.txt File
Your robots.txt file is typically located at https://yourdomain.com/robots.txt.
You can open it by typing this URL into your browser.
If you can’t find it there, use an FTP client or your hosting file manager to locate it in your site’s root directory.
Note: WordPress users with SEO plugins can usually access and edit robots.txt directly in the plugin settings.
4. Back Up Your robots.txt File
Before making any changes, save a copy of your existing robots.txt file. This way, if anything goes wrong, you can revert to your original file easily.
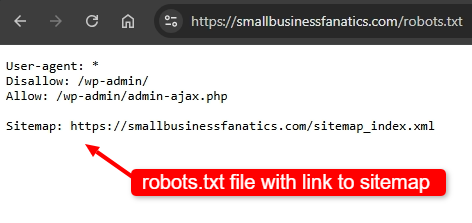
screenshot of robots.txt file with link to sitemap
5. Add the Sitemap to robots.txt
Open your robots.txt file for editing and add this line at the end:
Sitemap: https://yourdomain.com/sitemap.xml
Replace https://yourdomain.com/sitemap.xml with the actual URL of your sitemap if it’s different. This directive tells search engines exactly where to find your sitemap.
Don’t forget to use /sitemap_index.xml for WordPress sites.
6. Save and Test Your Changes
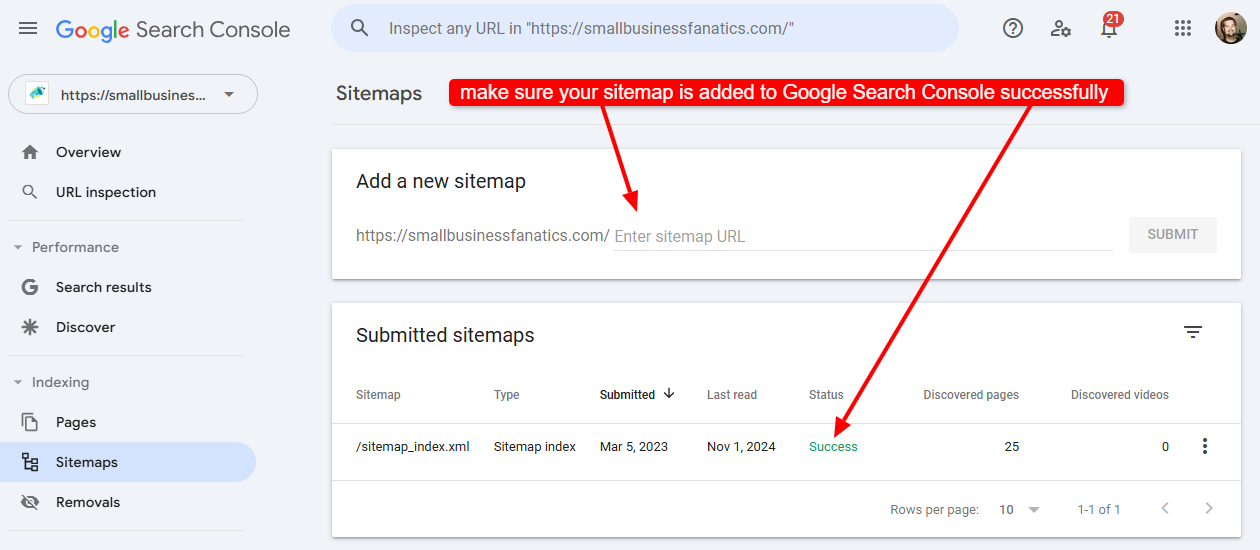
Once you’ve added the sitemap line, save the changes and head over to the Sitemaps section of your Google Search Console account.
Submit your updated robots.txt to make sure there are no errors.
7. Re-run the Semrush Site Audit
Head back to Semrush and re-run the site audit to ensure the error is resolved. If you’ve correctly indicated the sitemap in your robots.txt, the issue should now be gone!
Bonus Tip: Make sure your sitemap is regularly updated with new pages. Most SEO plugins do this automatically, but it’s good to check once in a while to ensure everything on your site is crawlable.
Frequently Asked Questions
Think of robots.txt as a do not enter sign, while the XML Sitemap is more like a here’s the map guide.
Keep it focused on high-value pages to make crawling efficient.
Following these steps should clear up common sitemap issues.
More articles relating to Sitemaps:
- How to fix: Sitemap.xml not indicated in robots.txt
- How to fix: HTTP URLs in sitemap.xml for HTTPS site
